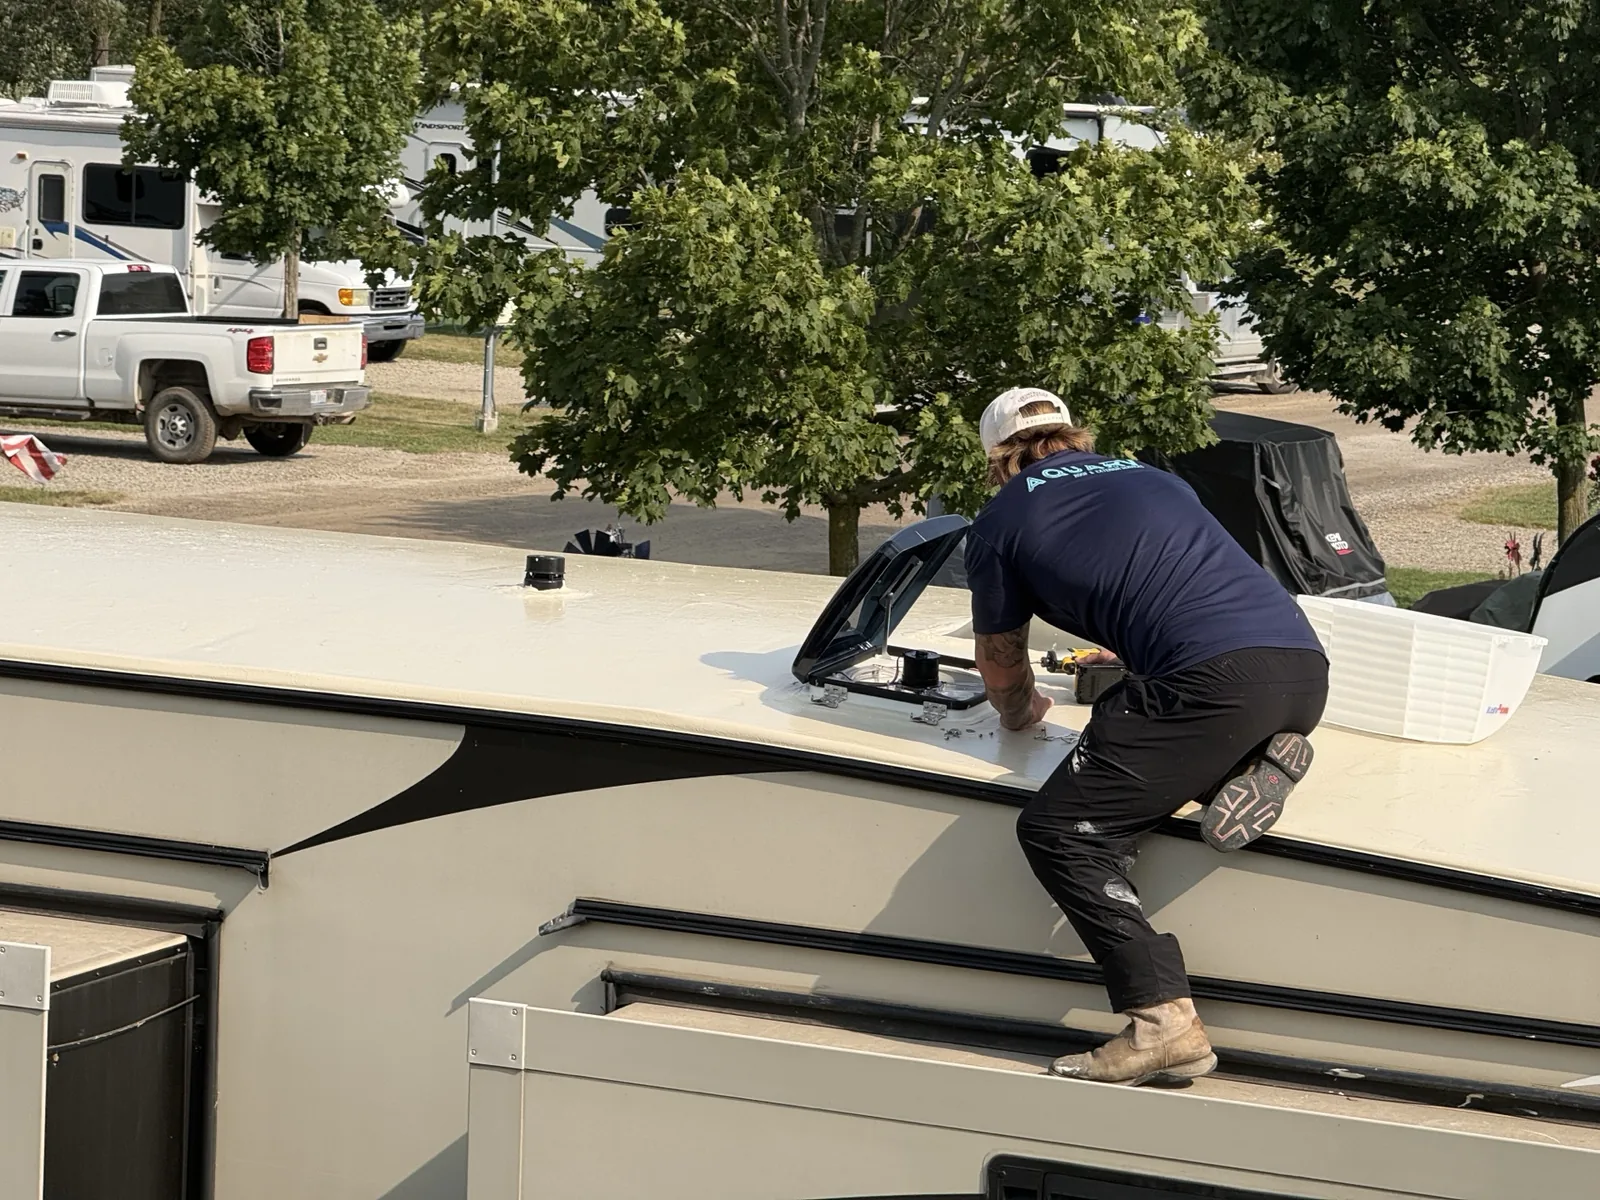
After a Florida summer, inspect the areas most likely to show weather-related wear: roof penetrations, cap seams, edges, old repairs, sealant, membrane surfaces and the interior below. Cracking, separation, lifting material, soft areas or water staining deserve evaluation before adding another patch or coating.
Why October is a smart checkpoint for Florida RV roofs
Florida RV roofs spend summer exposed to intense sunlight, high surface temperatures, humidity, sudden downpours and repeated heating and cooling. Those conditions do not guarantee roof damage, but they can make existing weaknesses easier to spot.
October is a useful checkpoint because owners can look back at how the roof performed through the wettest, hottest stretch of the year while there is still time to address warning signs before winter travel or storage.
1. Sealant that has cracked, separated or lost adhesion
Look closely around vents, air conditioners, skylights, antennas, plumbing vents, solar mounts and other roof penetrations. Sealant can look substantial while no longer adhering correctly to one side of a joint.
If you find separation or recurring cracks, the answer is not always to pile new sealant over old material. The area should be cleaned and evaluated so the repair addresses the actual joint and compatible roof materials. AquaRV's sealant maintenance service is designed around that condition-first approach.
2. Front and rear cap seams that changed during summer
Cap transitions and long perimeter seams join different materials and can experience movement as temperatures change. Look for gaps, lifting edges, cracking, exposed fasteners or old repair material that is separating.
These seams are especially important when an RV has a history of water intrusion because water can travel before appearing inside.
3. Old patches and repair tape that are lifting
Previous repairs are part of the roof's history. Inspect patch edges, repair tape and older coatings for lifting, cracking, trapped moisture or repeated layers over the same location.
A repair that keeps failing deserves diagnosis, not another blind layer. Depending on the condition, the right scope may be localized roof repair, substrate work, sealant maintenance or broader roof protection.
4. Soft areas or changes in the roof surface
Softness, depressions, unusual movement or visible deterioration can point to a problem beneath the visible surface. Avoid walking on a questionable area simply to test it.
A coating is not a substitute for structural or substrate repair. AquaRV's RV Roof Health Report documents roof condition so repair and protection decisions can be based on evidence rather than guesswork.
5. Interior clues after months of summer rain
Check ceilings, upper cabinets, walls and areas around vents for staining, bubbling, musty odors, dampness or discoloration. The place where water becomes visible may not be directly below the entry point, so interior symptoms should be treated as clues rather than a complete diagnosis.
6. When Crazy Seal makes sense, and when it does not
A full-roof protection system can make sense when the existing roof is a suitable candidate and required preparation and repairs are completed first. It should not be used to hide unresolved soft areas, active substrate damage or incompatible failed repairs.
If the roof is structurally suitable after evaluation, Crazy Seal RV roof coating can be considered as part of a broader protection plan. If the problem is localized, repair or maintenance may be the more appropriate and economical scope.
A simple post-summer decision rule
- No visible problems: document the roof condition and continue periodic inspections.
- Minor sealant deterioration: address maintenance before separation becomes a leak path.
- Recurring leak or failed repair: diagnose the source before adding more material.
- Softness, membrane damage or suspected substrate damage: get the roof evaluated before deciding on coating or replacement.
- Aging but suitable roof: discuss whether a full-roof protection system is appropriate after preparation and repairs.
Frequently Asked Questions
What should I check on my RV roof after a Florida summer?
Check sealant around penetrations, front and rear cap seams, roof edges, previous repairs, membrane condition, soft areas, and interior signs of water intrusion.
Can Florida heat damage RV roof sealant?
Heat, UV exposure, weather and repeated expansion and contraction can contribute to aging sealants and roof materials. Condition should be checked rather than judged by age alone.
Should I coat my RV roof if the sealant is cracking?
Not automatically. Cracked sealant may call for maintenance or repair. A full-roof coating should follow evaluation of the roof material, substrate, existing repairs and preparation needs.
When should I schedule a professional roof evaluation?
When you see active leaks, soft areas, recurring sealant failure, lifting tape, damaged membrane, questionable coatings, interior staining or repairs that keep failing.
Not Sure What Summer Did to Your RV Roof?
AquaRV can evaluate the roof condition and help determine whether it needs maintenance, repair or broader protection. No automatic coating recommendation, just a condition-first assessment.
Request a Roof Evaluation