
In September, focus on seams, roof penetrations, cap transitions, previous repairs, soft areas, interior water signs, and debris. If anything looks separated, cracked, soft, stained, or repeatedly patched, get the roof evaluated before simply adding more sealant.
Why September deserves its own RV roof check
Florida RV roofs spend summer dealing with intense sun, heat, humidity, sudden downpours, wind, tree debris, and repeated expansion and contraction. September is also still squarely inside Atlantic hurricane season. NOAA identifies September 10 as the historical peak of Atlantic tropical cyclone activity, with most activity occurring from mid-August through mid-October.
That does not mean every RV has a roof problem in September. It means this is a sensible time to catch small warning signs before another round of rain tests the roof for you.
1. Check every roof penetration
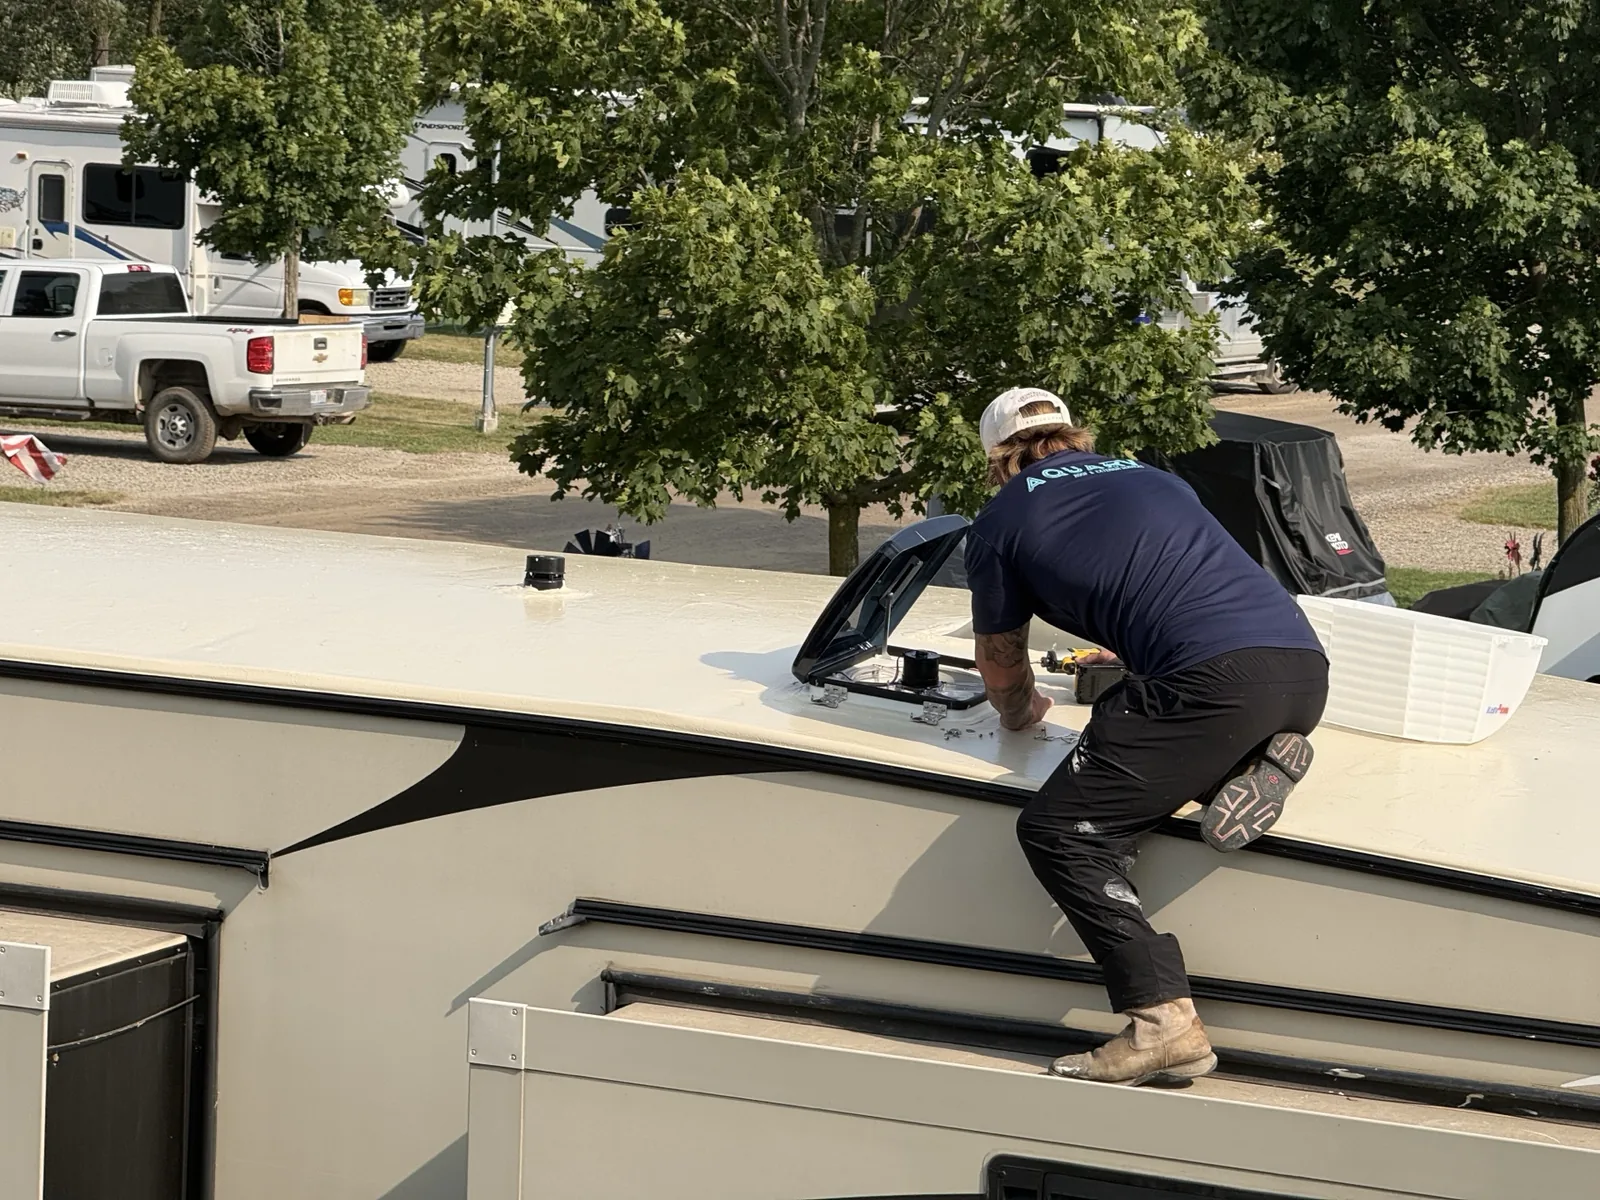
Start where the roof is interrupted: vents, air conditioners, skylights, antennas, solar mounts, plumbing vents, and other rooftop accessories.
Lippert recommends checking RV roofs and windows several times each year for leaks or weak spots. Around rooftop equipment, look for sealant that is cracked, separated, lifting, missing, or pulling away from the component or roof surface.
Do not assume a thick layer of old sealant is automatically a healthy seal. Condition and adhesion matter more than how much material is sitting there.
2. Inspect front cap, rear cap, roof edges, and gutter lines
Long seams and transition areas deserve attention because different RV materials meet and move at those locations. Walk the perimeter visually and look for openings, separation, old repair buildup, cracking, or areas where sealant appears to have lost contact with one side of the joint.
AquaRV commonly evaluates front and rear cap seams, roof edges, gutter lines, and other transitions as part of roof maintenance and leak-prevention work.
3. Look closely at previous repairs
Old tape, patches, caulk, coatings, and previous leak repairs tell part of the roof's history. Check whether repair edges are lifting, material is cracking, water appears trapped, or several layers have been added over the same area.
Repeated patching does not automatically mean the roof must be replaced, but it can be a sign that the roof deserves a broader evaluation rather than another blind layer of sealant.
4. Pay attention to soft spots
A soft area can indicate a condition below the visible roof surface, including possible moisture or substrate deterioration. Do not walk on a questionable soft spot just to investigate it.
A surface coating should never be treated as a substitute for structural repair. If the roof feels soft, looks depressed, or shows signs of movement around a damaged area, the correct next step is evaluation before deciding between localized repair, deeper repair, coating, or replacement.
5. Check inside the RV for water clues
Roof problems do not always announce themselves directly above the entry point. Look inside for ceiling or wall staining, discoloration, bubbling material, musty odors after rain, dampness around cabinets, or changes around vents and ceiling fixtures.
The location of an interior stain is a clue, not a guaranteed diagnosis of the leak source. Water can travel through the roof assembly before becoming visible inside.
6. Clear debris and look at the roof surface
Leaves, branches, seed pods, dirt, algae, and debris can hide seams and problem areas. A clean enough surface makes visual inspection easier and helps reveal tears, cracks, unusual wear, previous coating failure, or areas holding moisture.
Only inspect or photograph the roof if you can do so safely. Ground-level photos are useful, and AquaRV can evaluate the roof when safe access is a concern.
7. Decide whether you need maintenance, repair, or broader roof protection
Not every aging roof needs a full coating, and not every leak means the entire roof needs replacement. AquaRV uses a condition-first approach: identify the roof material, inspect seams and penetrations, understand previous repairs, and determine whether damaged areas need to be addressed first.
If the roof is a suitable candidate after required preparation and repair, a full-roof system such as Crazy Seal may be worth discussing. If the issue is localized, sealant maintenance or roof repair may be the more appropriate scope.
When should you call AquaRV?
Schedule a roof evaluation if you notice active water intrusion, soft areas, recurring sealant failures, lifting repair tape, cracks, damaged membrane, questionable old coatings, or interior staining after rain. Photos can help with initial triage, but they do not always reveal what is happening beneath the roof surface.
AquaRV provides mobile RV roof service throughout many Tampa Bay communities, including Pinellas, Hillsborough, Pasco, and Manatee counties. Service location and access are confirmed before scheduling.
Frequently Asked Questions
Why is September a good time to inspect an RV roof in Florida?
September remains within Atlantic hurricane season and is historically near its peak. A roof check can identify failed seals, damaged areas, or warning signs before more heavy rain arrives.
What RV roof areas should I inspect first?
Start around vents, air conditioners, skylights, antennas, solar mounts, cap seams, roof edges, gutter lines, and previous repairs.
Does a soft spot mean I need a new RV roof?
Not automatically. A soft spot needs evaluation because the correct scope depends on what is happening beneath the visible roof surface.
Can AquaRV inspect the roof before recommending Crazy Seal?
Yes. AquaRV evaluates roof condition, existing repairs, seams, penetrations, and preparation needs before recommending repair, maintenance, or full-roof protection.
Sources
This September checklist uses current first-party maintenance and seasonal references.
Want AquaRV to Check It?
If you see cracking, lifting, staining, soft areas, or old repairs you are unsure about, send photos or request a mobile roof evaluation.
Request Free Roof Evaluation